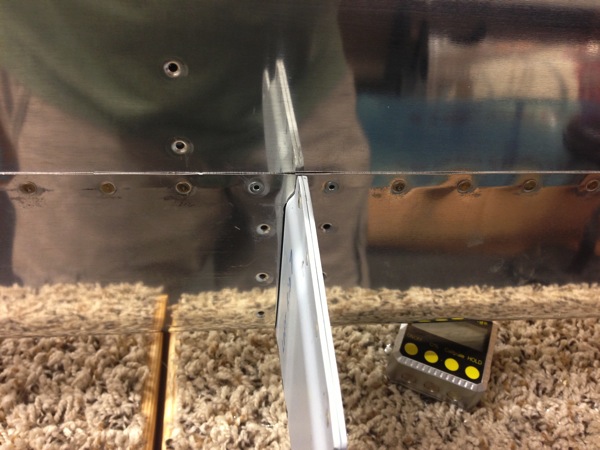
I skipped forward to Section 19 to work on the flaps. After doing the leading edges, I didn’t quite feel up to dealing with pro seal and doing the fuel tanks. I’ll probably do the flaps then the ailerons before going back to do the fuel tanks. I’d kind of like for it to be a little cooler in the workshop before I deal with the pro-seal.
The flaps are fun because they’re like a little airfoils and look like airplane parts. So far, I’ve completed the left flap and just started on the right.
Here’s the nose ribs, some with doublers clecoed on
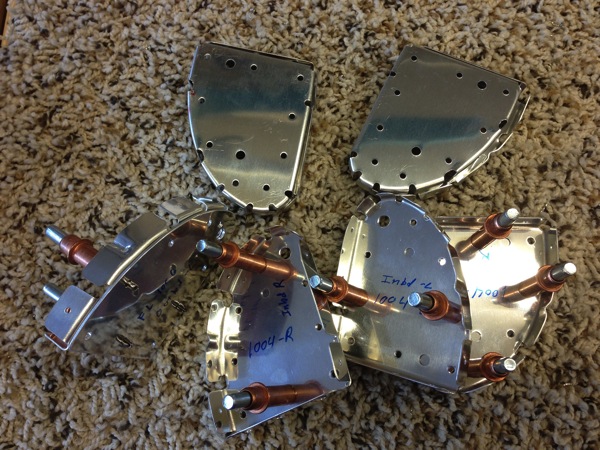
Here’s the main ribs in process of being stripped of blue plastic, deburred and final drilled:

Then I forgot to take pictures for a while for some reason…so fast forward a bit to here. Left flap in process of getting the skin riveted on.
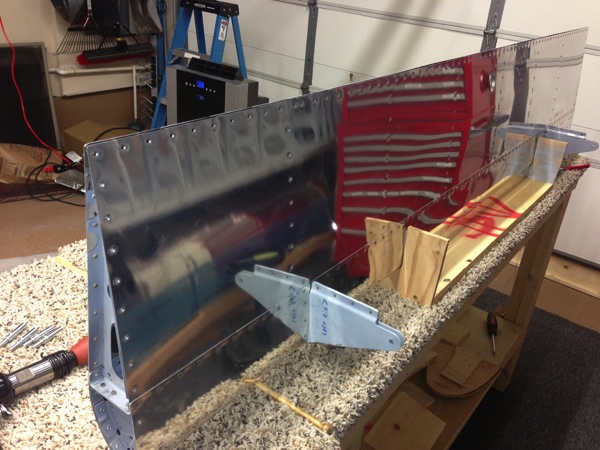
riveting the forward row of rivets where the bottom skin attaches to the spar was an experience. It required me to stick my hand down into the flap between the skins and hold a bucking bar (thank goodness for the tungsten bar). It had to be done 100% by feel…probably not something I’d try unless you’ve driven a few thousand rivets. I found it helpful to wedge a 1×2 between the skin and ribs to keep the bottom skin separated from the top skin. Here’s a short video of me finishing up the flap.
The next step required a flat surface to make a straight trailing edge. Since my workbenches have carpet on them, they wouldn’t really cut it. I decided to buy a cheap box level from Harbor Freight and screw it to a piece of shelving board to ensure it was straight. The result looked like this:
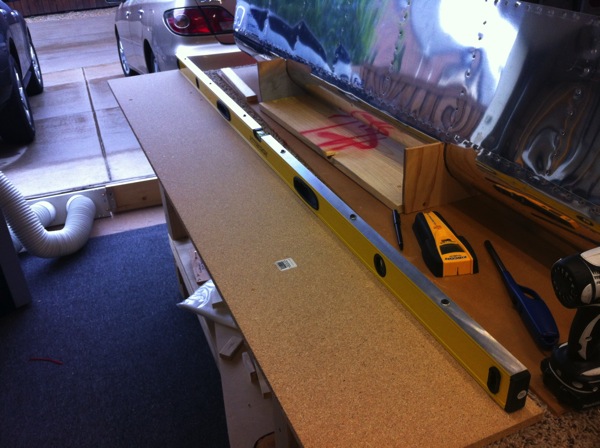

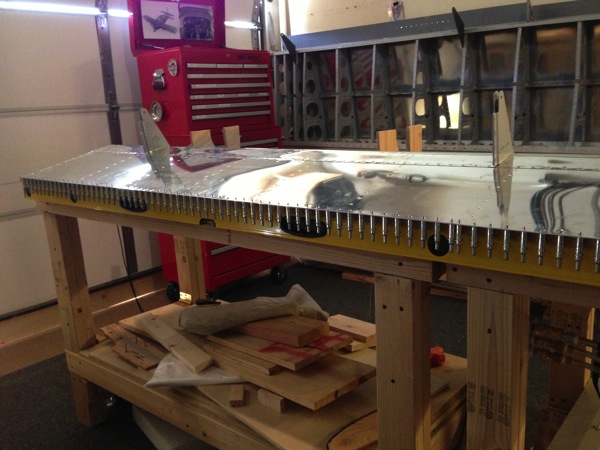
The surface worked pretty good and I’m pleased with how the trailing edge worked out.
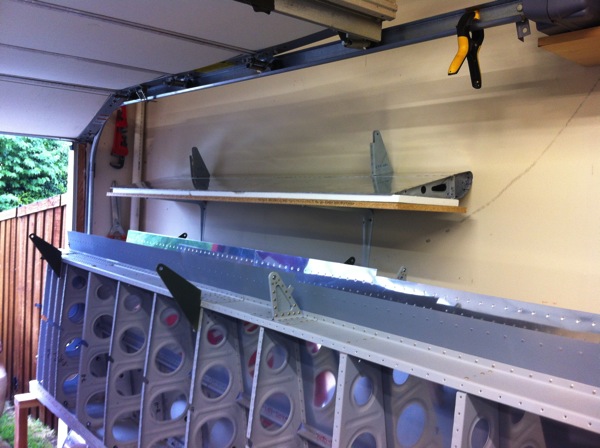
So finally, after finishing the trailing edge and adding a few dozen blind rivets, the flap is complete. Here is not only a finished airplane part but a successfully stored airplane part.
Also, can I say that I came to realize how much I prefer driven rivets to blind rivets. This is the first time in the build that I’ve used the rivet puller and I definitely prefer squeezing or driving solid rivets. Not only do they look better, hold better and weigh less, but I can install them substantially faster. Driving rivets intimidated me at the beginning of the build but it shouldn’t have. It’s like any other learned skill, it just takes a bit of practice.
