First of all, Vans changed the numbering of the sections so I’ll just stop using section numbers in the titles to avoid confusion.
We have started on the tanks. I have been putting it off for a while because I was intimidated by the pro-seal. After reading quite a bit online from builders logs and forums on =VAF=, I decided to go with the method described by Rick Galati in this thread.
Speaking of other builders sites, I want to point anyone to Jim Novak’s RV-8 build log. Dad and I visited Jim’s shop yesterday and I spent most of yesterday evening catching up with his build log. I’ve gotten behind on several things since G was born and Jim’s log is one of them but he does a very good and thorough job of documenting his work. I read his section on tanks twice last night and this morning before we started sealing the ribs. Rather than go through the details of the process here, read Rick’s thread above and start here on Jim’s log and read from there.
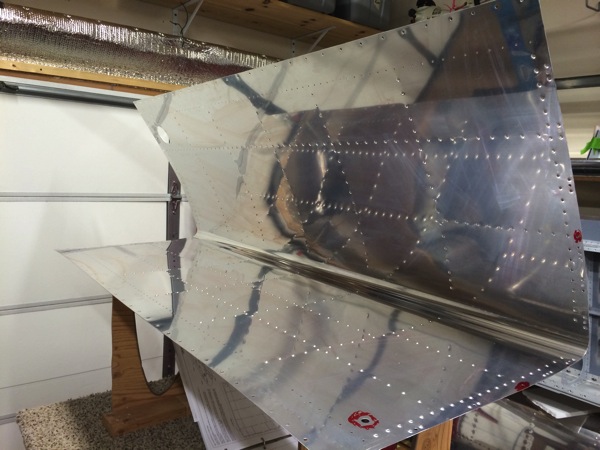
Freshly dimpled and prepared skin ready for ribs, sealant, and rivets…

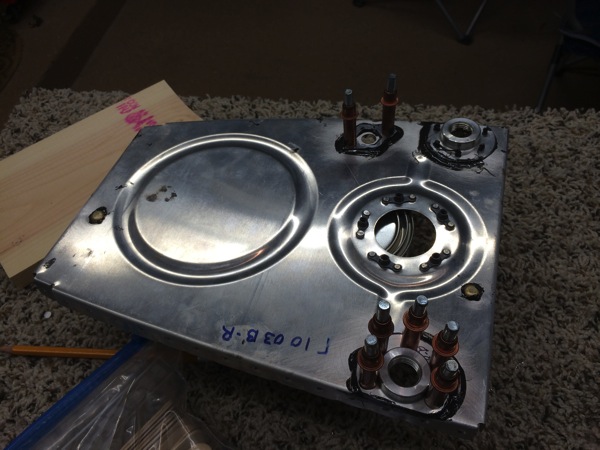
First sealing step is to proseal the fuel line fittings to the inboard rib. We applied a healthy (if not pretty) layer of pro seal to the mating surfaces then clecoed every hole. We’ll leave this set up over night and rivet it the next morning.

and here is the completely riveted piece.

Next step is to seal then rivet the tank stiffeners onto the lower portion of the skin. Since I neglected to take any pictures of this you’ll have to use your imagination but we layer a bead of sealant then 100% clecoed the stiffeners. They set up over night and we riveted them this morning.
Next we installed the inboard ribs in the tank skin. We did this by applying pro seal to the raying surface (mating surface) of the rib then 100% clecoed them into place starting at the nose and working our way back.

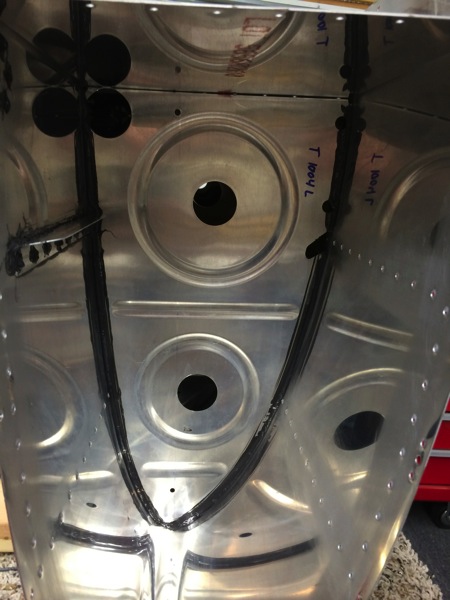
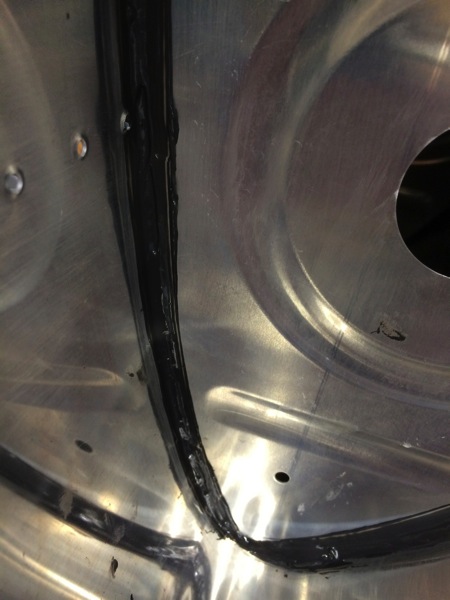
After that, we used the pro seal that squeezed out plus some additional pro seal to make a fillet on the non flanged side of the rib. We’ll do more on the flange side after riveting but it seemed like it would just make a mess to do it now. You can see the fillet here.

and here

This is what the flange side of the ribs look like. You can see that pro seal has squeezed out from the raying surface but we’ll add another layer after the rivets go in. Better safe than sorry….

We’re going to work on the right side tomorrow and probably rivet the left side Thursday.
