Last day that dad’s in town so I’d better get a full day’s work out of him…
We started by riveting the stiffeners, drain flange, and fuel filler flange on the right wing. Then we put the left side back in the cradle and set up to rivet the ribs. This is the time that fuel tank construction gets serious. For each rivet, the process goes something like:
1. Remove Cleco
2. Clean out hole of excess sealant from the overnight set up
3. Apply small dab of sealant to the dimple
4. Insert rivet. It will sit in this bed of fresh sealant.
5. One person holds the bucking bar, the other drives the rivet.
6. Repeat about 30 times for each of the 5 inboard ribs.
7. Use a small brush and apply a dab of sealant to the newly formed shop head of each rivet.
Short version of the story is that we worked all day and finished the inboard ribs.
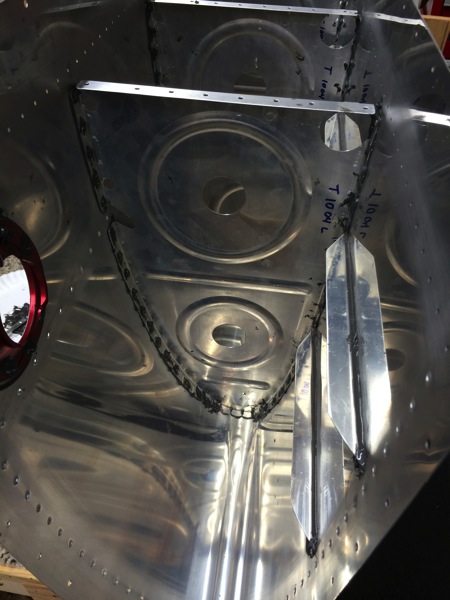
One of the inboard ribs

Bottom of the fuel tank. You can see the vertical rows of rivets for the ribs and the horizontal rows for the stiffeners

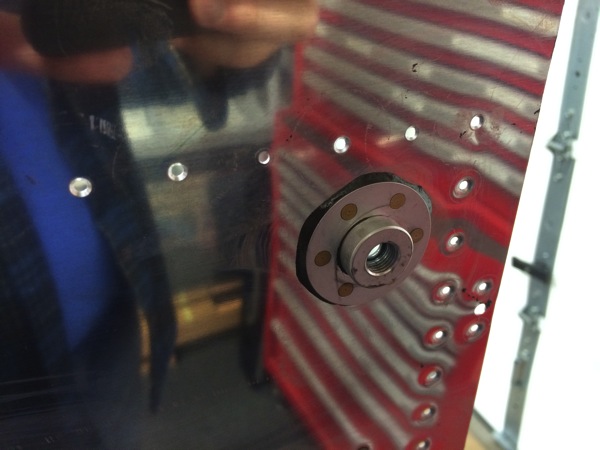
Fuel tank drain flange

Inside of the fuel tank drain. You get a good look at the sealant applied to the rivet shop head.

I’m very pleased with the progress we made over the past week. We worked nearly 30 hours (58 man hours) and made significant progress on the fuel tanks. Thanks for the help Dad!
